


Finding the right cloth diaper fit is essential for your baby's comfort and leak-free diapering experience. Among the various cloth diaper styles available, pocket diapers offer a convenient and customizable option. In this blog post, we'll guide you through the steps to achieve a perfect cloth diaper fit with pocket diapers, ensuring your little one stays dry and happy.
Understanding Pocket Diapers:
Pocket diapers are designed with a waterproof outer shell and a convenient inner pocket where you can insert absorbent inserts or boosters. This design allows you to customize the absorbency based on your baby's needs, making them a versatile choice for day and night use. To achieve a good fit with pocket diapers, follow these simple steps:
Step 1: Preparing the Pocket Diaper:
Start by laying the pocket diaper flat and ensuring the waterproof shell is smooth. If the diaper has adjustable sizing, adjust the rise snaps or hook-and-loop closures to fit your baby's size.
Step 2: Choosing the Right Inserts:
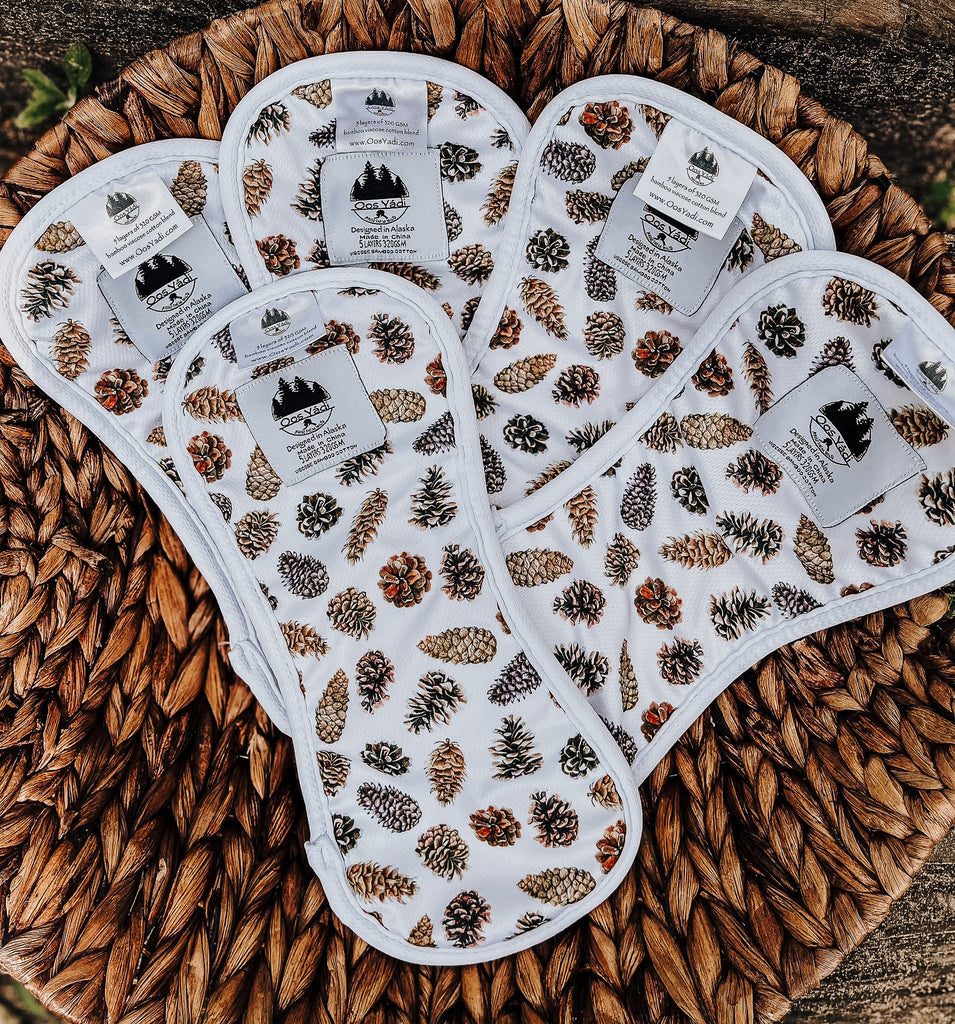
Select the appropriate inserts for your baby's age, activity level, and absorbency needs. Bamboo or hemp inserts are popular choices due to their excellent absorbency properties.

Step 3: Inserting the Absorbent Inserts:
Slide the chosen insert(s) into the pocket opening of the diaper. Ensure the insert is evenly distributed and reaches from the front to the back of the pocket. Adjust the insert as needed to achieve a proper fit.
Step 4: Putting on the Pocket Diaper:
Gently lift your baby's legs and slide the pocket diaper under their bottom, aligning the back of the diaper with their natural waistline. Smooth out any wrinkles to create a snug fit.
Step 5: Securing the Diaper:
For diapers with hook-and-loop closures, fasten the tabs to the front of the diaper securely. If using snap closures, snap the appropriate snaps to achieve a snug yet comfortable fit. Avoid overtightening, allowing for freedom of movement.
Step 6: Checking the Leg Openings and Waistline:
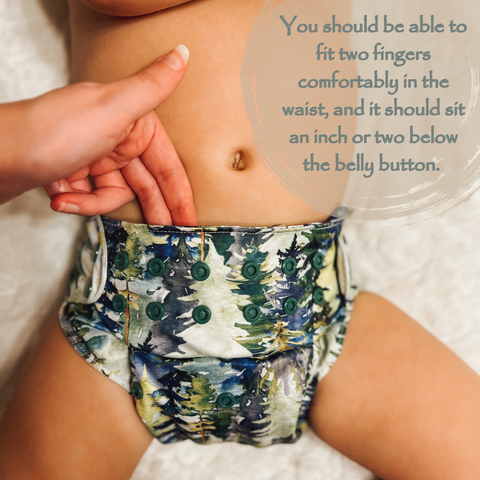
Ensure the leg openings create a gentle but secure seal without causing any discomfort or leaving red marks on your baby's skin. The elastics should rest in the bikini line area to prevent irritation. Similarly, check the waistline fit, ensuring you can comfortably fit two fingers between the diaper and your baby's belly.
Step 7: Testing for Proper Fit:
Gently press down on the front of the diaper to check for a good seal around the waist and leg openings. Watch out for any gaps or leaks. If needed, make adjustments by tightening or loosening the closures or repositioning the inserts. Ensure the fabric is properly folded under the snaps if you have the rise snaps snapped down (see photo).


Additional Tips for a Great Fit:
- Avoid overstuffing the pocket with too many inserts, as it may compromise the leg seal and create a bulky fit.
- Regularly check the diaper for moisture and change it promptly to prevent leaks and discomfort.
- Consider using additional boosters or doublers for heavy wetters or overnight use to enhance absorbency.
- Remember that a good fit should be snug but allow room for your baby to move comfortably.
Mastering the art of achieving a perfect cloth diaper fit with pocket diapers is key to ensuring a leak-free and comfortable experience for your little one. By following the steps outlined above and making necessary adjustments as your baby grows, you'll be well on your way to cloth diapering success. Enjoy the convenience, customization, and eco-friendly benefits that pocket diapers provide, and embrace the joy of cloth diapering with confidence!
Happy diapering!